


REQUEST A QUOTE OR MORE INFORMATION
Fill out the form below for someone to contact you reguarding quotes and questions.Or visit our contact page for general contact information.
News

Jul. 03, 2026
When it comes to maintaining agricultural machinery, understanding the duration and intricacies involved in replacing a rotary cutter gearbox is crucial for minimizing downtime and optimizing productivity. In this guide, I promise to lay out clear, actionable steps that will help you effectively replace your rotary cutter gearbox with efficiency, ensuring you get back to work seamlessly.
Replacing a rotary cutter gearbox can typically take anywhere from 2 to 4 hours, depending on your level of expertise and the complexity of the equipment. Here’s how you can navigate this task with precision and care.
Gather Necessary Tools and Safety Gear
Before diving into the replacement, ensure you have all required tools on hand. This usually includes:
Identify the Gearbox Model
Knowing your rotary cutter gearbox model is vital. Check the manufacturer’s manual or the data plate on the gearbox for specific details—this will ensure a correct replacement part from a trusted Rotary Cutter Gearbox Manufacturer, like GTM. Proper identification minimizes delays and ensures compatibility. If you’re uncertain about the model, consult GTM’s customer service for support.
Drain the Gearbox Oil
Start by draining the existing oil from the gearbox. This is typically accomplished through a drain plug located at the bottom of the gearbox. Ensure you catch the oil in a suitable container, observing environmental regulations. Proper oil disposal is not just a best practice but an environmental necessity.
Disconnect the Gearbox
Carefully disconnect the gearbox from the rotary cutter. To do this, remove any bolts or screws securing it in place, taking note of the order and positions for reassembly. Using zip-lock bags to store small parts can help maintain organization.
Install the New Gearbox
Now, with the old gearbox removed, carefully mount the new gearbox. Align it properly and secure it with the original bolts, applying the correct torque as specified by the manufacturer; this is critical for ensuring functionality and safety.
Refill Gearbox with Oil
After securely attaching the installation, it’s time to refill the gearbox with appropriate oil—consult the GTM specifications or the manual for accurate measurements. Be vigilant about utilizing the correct type and quality of lubricant to prevent operational issues later on.
Test the Equipment
After reassembly, run the rotary cutter briefly to check for unusual sounds or leaks. Initial testing is crucial—maintaining vigilance shows attention to detail that can prevent future complications.
While replacing a rotary cutter gearbox may seem straightforward, several challenges can crop up. Common issues include:
For an enhanced experience, consider utilizing:
Replacing a rotary cutter gearbox may take a few hours, but with the right tools, solid preparation, and careful execution, you can achieve this essential task efficiently. Adhering to GTM’s guidelines ensures you leverage the best practices in maintenance, directly impacting your agricultural productivity.
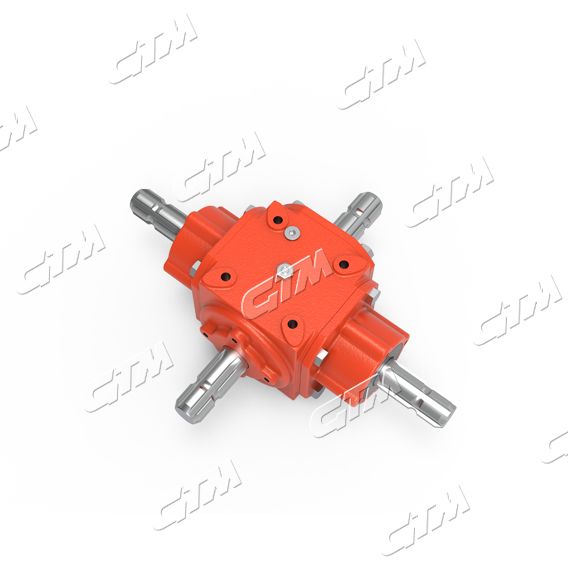
Remember, every time you service machinery, you're investing in the longevity of your operation. I encourage you to take these steps today, and for any specific needs or inquiries, don’t hesitate to check GTM’s resources for your rotary cutter gearbox replacements. For a visual aid, refer to this image to guide your steps further. Your operational efficiency relies on these proactive measures, and the time you invest now will reap benefits down the line.
GEARBOX MANUFACTURER
Zhejiang GTM was established in 1997, which located in economic development zone of Wenling city, southeast of China.
GTM agricultural gearbox products include spiral and straight bevel gearbox, cylinder gear speed reducer, worm reducer, and transmission case etc, which are widely used in various fields as Rotary cutter, grain transportation and storage equipment, Rice harvester,baler,hayrake, rotary tillers, pesticide sprayers, fertilizer spreaders, potato harvester, post-hole diggers, combine harvester,snow-blowers, garden machines and oil exploitation fields etc.
350000+
Annual quantity over
1997
Company establishment
6
Invention patents
56
Utility model patents
REQUEST A QUOTE OR MORE INFORMATION
Fill out the form below for someone to contact you reguarding quotes and questions.Or visit our contact page for general contact information.